Are you tired of your patio’s dull and lifeless appearance? Picture this: a vibrant and inviting outdoor space that you can truly call your own. Well, you’re in luck! This article will show you how to revitalize your patio with a DIY concrete staining project.
We’ll guide you through prepping the surface and selecting the perfect stain for your outdoor oasis. With our easy-to-follow instructions, you’ll not only learn helpful tips and techniques, but also discover creative design ideas for stamped or patterned concrete.
And don’t worry about maintenance – we’ve got you covered with tips to keep your newly stained patio looking beautiful for years to come. Get ready to transform your outdoor space into the envy of the neighborhood.
Surface Preparation
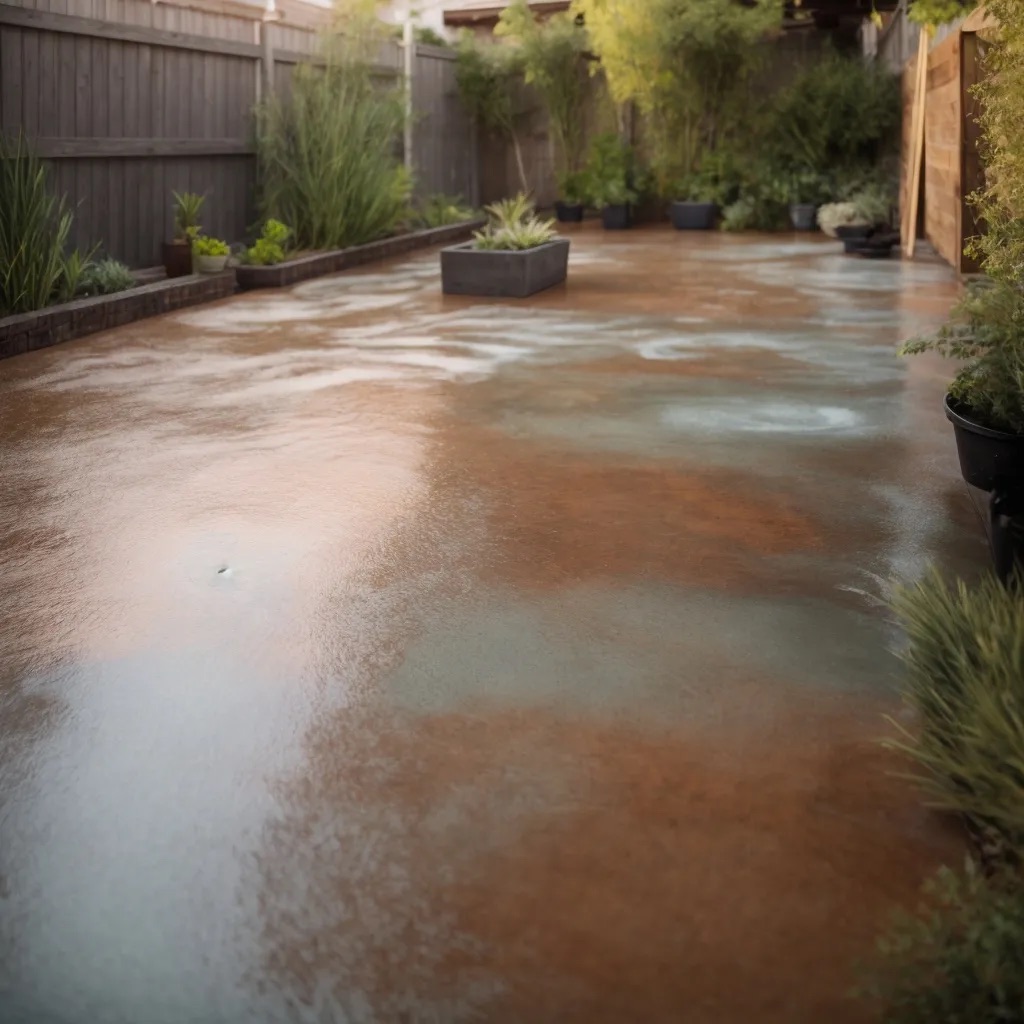
To ensure a successful concrete staining project, proper surface preparation is essential. Before you begin, it’s important to clean the concrete thoroughly. Start by removing any dirt, debris, or loose particles from the surface. You can use a broom or a leaf blower to sweep away the larger debris, and then follow up with a thorough power washing. This will help remove any stains, oil spots, or mildew that may be present.
Next, inspect the concrete for any cracks or imperfections. Patching these cracks is crucial to achieving a smooth and even finish. Use a concrete patching compound to fill in the cracks, following the manufacturer’s instructions. Allow the compound to dry completely before moving on to the next step.
Once the surface is clean and repaired, it’s time to prepare it for the stain. Acid etching is a common method used to open up the pores of the concrete, allowing the stain to penetrate more effectively. You can purchase an acid etching solution from a home improvement store and apply it according to the instructions. Be sure to wear protective gloves and eyewear during this process.
After acid etching, it’s important to sand the surface to create a smooth and even texture. Use a floor sander or a hand sander with a fine-grit sandpaper to gently sand the concrete. This will help remove any rough spots or imperfections and ensure that the stain adheres properly.
With the surface now prepared, you can proceed to the next section, which is choosing the right stain for your project.
Choosing the Right Stain
When selecting a stain for your concrete patio, consider the desired color and finish that will enhance your outdoor space. Color selection is an important aspect of the staining process as it sets the tone for the overall look and feel of your patio. Whether you prefer earthy tones like browns and greens for a natural look, or bold and vibrant colors for a more contemporary style, there are a wide variety of stain colors available to choose from.
Once you have chosen the color, it’s important to consider the application techniques. Stains can be applied using either a brush, roller, or sprayer. The choice of application technique depends on the size and texture of your patio. A brush or roller is suitable for smaller areas or those with intricate patterns, while a sprayer is more efficient for larger, open spaces.
Weather considerations are also crucial when staining your concrete patio. It’s recommended to stain your patio on a dry and mild day with moderate temperatures. Avoid staining on extremely hot or humid days as it can affect the drying time and the final result. Speaking of drying time, it’s important to allow the stain to fully dry before applying any sealant or walking on the surface. This can take anywhere from 24 to 48 hours, depending on the weather conditions and the type of stain used.
Lastly, consider the sealing options for your stained concrete patio. Sealing not only enhances the color and finish but also provides protection against weather elements and stains. There are various sealant options available, including solvent-based sealers for a glossy finish or water-based sealers for a more natural look.
Choosing the right stain for your concrete patio is essential in achieving the desired look and feel for your outdoor space. Now that you have a better understanding of the color selection, application techniques, weather considerations, drying time, and sealing options, let’s move on to the next section to explore some stamped or patterned design ideas for your stained concrete patio.
Stamped or Patterned Design Ideas
Enhance your stained concrete patio with a variety of stamped or patterned designs. Adding these decorative elements can elevate the overall look of your outdoor space and create a unique and personalized patio area. When it comes to stamped or patterned designs, there are several aspects to consider.
Color selection plays a crucial role in achieving the desired aesthetic for your patio. Consider the existing color scheme of your outdoor space and choose a stain color that complements it. You can opt for earthy tones to create a natural and organic feel or go for bold and vibrant colors to make a statement.
Stamping techniques are used to create texture and depth on the concrete surface. There are various stamping tools available, such as mats or stamps, that can mimic the look of various materials like brick, stone, or wood. Experiment with different stamping techniques to achieve the desired effect for your patio.
Pattern options are limitless when it comes to stamped or patterned designs. You can choose from intricate geometric patterns, random designs, or even create your own custom pattern. Consider the size and layout of your patio space when selecting a pattern to ensure a cohesive look.
In addition to enhancing the aesthetic appeal of your patio, stamped or patterned designs can also enhance your outdoor decor. By choosing a pattern or design that complements your existing furniture and accessories, you can create a cohesive and inviting outdoor space.
Lastly, stamped or patterned designs offer endless customization possibilities. You can incorporate personalized elements such as initials, logos, or symbols to make your patio truly one-of-a-kind.
Now that you have learned about the various stamped or patterned design ideas for your stained concrete patio, it’s important to know how to maintain the longevity of your newly transformed outdoor space.
Maintenance Tips for Longevity
To keep your newly transformed stained concrete patio looking its best for years to come, there are a few key maintenance tips to keep in mind. By following these steps, you can ensure the longevity of your patio’s appearance and protect it from the elements.
Firstly, regular cleaning is essential to maintain the beauty of your stained concrete patio. Use a broom or leaf blower to remove any debris, such as leaves or dirt, from the surface. For more stubborn stains, a mild detergent mixed with water can be used. Avoid using abrasive cleaners or scrub brushes, as they can damage the stain.
Sealing your stained concrete patio is another vital step in its maintenance. There are various sealing options available, such as acrylic or epoxy-based sealers, which provide protection against moisture, UV rays, and color fading. Apply the sealer according to the manufacturer’s instructions, and make sure to reapply it every few years to maintain its effectiveness.
Preventing color fading is crucial for preserving the vibrancy of your stained concrete. To do this, consider choosing a UV-resistant stain or applying a UV-protective sealer. Additionally, avoiding direct sunlight for prolonged periods and using outdoor rugs or umbrellas can provide extra protection against fading.
Protecting your stained concrete patio from harsh weather conditions is vital for its longevity. Consider using furniture covers during extreme weather or moving your furniture to a covered area. This will prevent damages caused by rain, snow, or extreme heat.
Lastly, when placing furniture on your stained concrete patio, use felt pads or rubber protectors to prevent scratches or marks. These simple precautions will ensure the longevity of your patio’s appearance and keep it looking its best for years to come.
Final Touches and Finishing Steps
Now that you have learned how to maintain your stained concrete patio for longevity, let’s dive into the final touches and finishing steps to complete your outdoor space transformation.
One important step in the process is sealing your stained concrete. This will help protect it from stains, fading, and weather damage. There are two common sealing techniques: solvent-based sealers and water-based sealers. Solvent-based sealers provide a high-gloss finish and are more durable, while water-based sealers offer a matte or satin finish and are more environmentally friendly.
When it comes to color options, the possibilities are endless. You can choose from a wide range of stain colors to achieve the look you desire for your patio. Earth tones like tan, brown, and gray are popular choices for a natural and rustic feel. If you prefer a more vibrant look, you can opt for bold colors like red, blue, or green. Don’t be afraid to get creative and mix different colors to create a unique and personalized look.
To add a decorative border to your stained concrete patio, you can use tape or stencils to create patterns or designs. This is a great way to add visual interest and enhance the overall look of your outdoor space. Make sure to clean the surface thoroughly before applying the border to ensure proper adhesion.
Cleaning your stained concrete patio is essential to maintain its appearance and longevity. Regular sweeping and occasional mopping with a mild detergent and warm water will keep it looking fresh and clean. Avoid using harsh chemicals or abrasive cleaners, as they can damage the stain.
After completing all the necessary steps, be sure to allow ample drying time for your stained concrete patio. This will vary depending on the weather conditions, but generally, it takes about 24 to 48 hours for the stain to fully dry and cure. Avoid walking on the surface or placing any furniture until it’s completely dry.