Ready to give your garage floor the makeover it deserves? Look no further than our ultimate guide to garage floor epoxy.
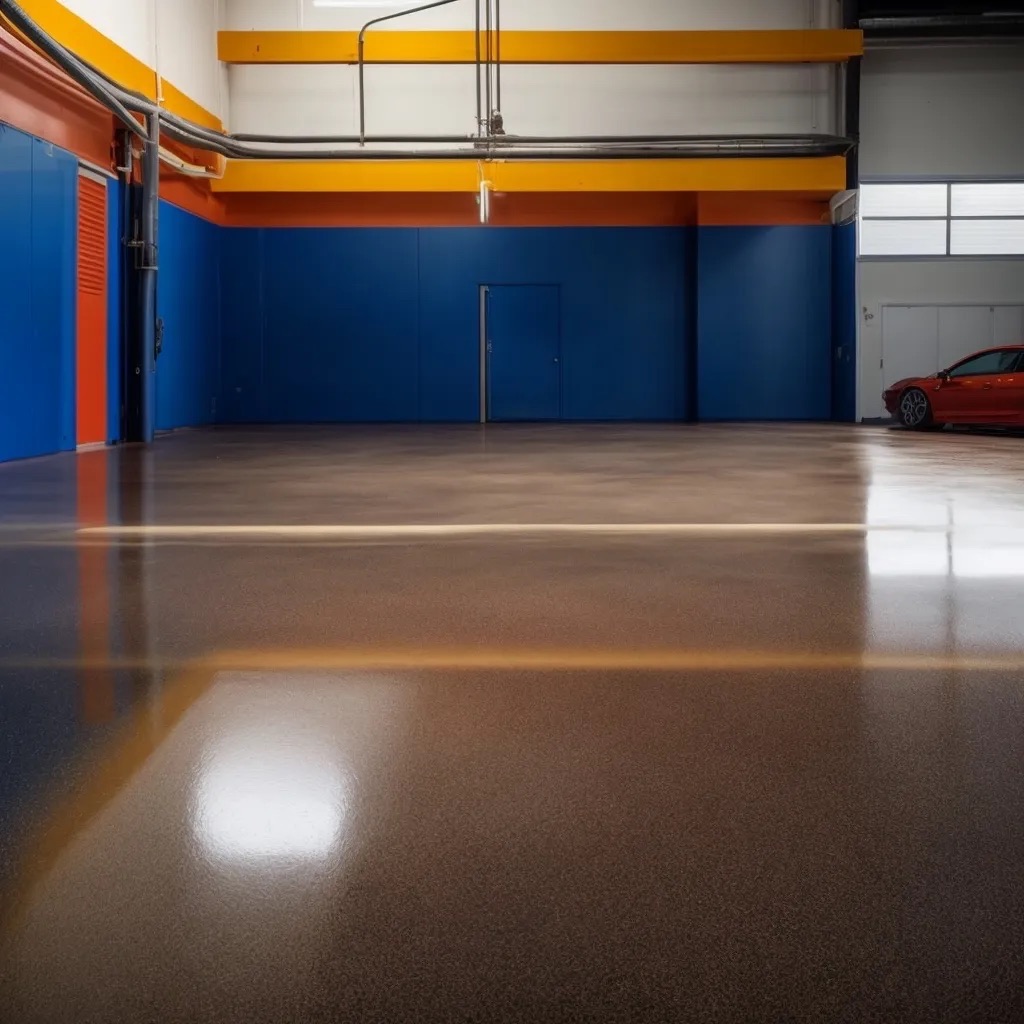
Say goodbye to that dull and stained floor, and say hello to a fresh and attractive space that you can truly belong to. Garage floor epoxy is the secret to achieving a seamless and glossy finish that not only enhances the overall appearance of your garage but also provides long-lasting durability and easy maintenance.
Don’t worry if you’re new to epoxy application – our step-by-step guide will walk you through the entire process, ensuring a successful outcome.
Get ready to transform your garage floor into a stunning space that you can be proud of. Let’s get started!
The Popularity of Garage Floor Epoxy
Garage floor epoxy has gained popularity among homeowners for its high durability and easy maintenance. There are several reasons why epoxy is chosen over other garage floor coatings. Firstly, epoxy is highly resistant to stains, chemicals, and abrasions, making it ideal for garages where heavy machinery, tools, and vehicles are frequently used. Unlike other coatings, epoxy is also able to withstand the weight and impact of heavy objects without cracking or chipping.
When comparing epoxy to other flooring options for garages, epoxy stands out for its longevity and low maintenance requirements. Unlike concrete, which can easily stain and require frequent cleaning, epoxy is a seamless and non-porous surface that can be easily cleaned with a mild detergent and water. Additionally, epoxy is available in a variety of colors and finishes, allowing homeowners to customize their garage floors to match their personal style and taste.
The use of epoxy isn’t limited to garage floors alone. In recent years, homeowners have been expanding its use to other areas of the house, such as basements, kitchens, and even living spaces. Epoxy provides a sleek and modern look, and its high durability makes it a practical choice for areas with high foot traffic.
Despite its many benefits, there are some common misconceptions about garage floor epoxy. Some people believe that epoxy is slippery when wet, but this can be easily addressed by adding a non-slip additive during the installation process. Others think that epoxy is only suitable for new concrete, but it can actually be applied to old, cracked, or stained concrete as well.
Lastly, exploring different design options for garage floor epoxy can add a unique touch to any garage. From metallic finishes to decorative flakes and even custom logos or designs, homeowners have the freedom to create a truly personalized space.
Benefits of Garage Floor Epoxy
When considering epoxy for your garage floor, you’ll quickly discover the numerous benefits it offers. One of the most significant advantages of garage floor epoxy is its long-lasting protection. Epoxy creates a strong and durable surface that can withstand heavy traffic, impacts, and abrasions. With its high resistance to wear and tear, your garage floor will be protected for years to come.
In addition to its durability, epoxy also enhances the visual appeal of your garage floor. It comes in a variety of colors and finishes, allowing you to customize the look of your space. Whether you prefer a sleek, glossy finish or a more textured look, epoxy can transform your garage floor into a visually stunning surface.
Another benefit of garage floor epoxy is its resistance to chemicals. Epoxy is highly resistant to oil, gasoline, and other common chemicals that can damage or stain regular concrete floors. This makes it an ideal choice for garages where cars and other machinery are stored, as spills and leaks are easily wiped away without leaving any permanent marks.
Furthermore, epoxy provides increased safety and slip resistance. The surface of epoxy is smooth, but it can be modified with additives to create a textured finish that improves traction. This reduces the risk of accidents caused by slipping or falling, especially in environments where water or other liquids may be present.
Lastly, garage floor epoxy is a cost-effective investment. While the initial installation cost may be higher than other flooring options, its durability and low maintenance requirements make it a long-term money-saving solution. Epoxy eliminates the need for frequent repairs or replacements, saving you both time and money in the long run.
With these benefits in mind, it’s clear why garage floor epoxy is a popular choice for homeowners. Now that you understand the advantages, let’s move on to the step-by-step application guide so you can start enjoying a beautiful and durable garage floor.
Simplified Step-by-Step Application Guide
To begin applying epoxy to your garage floor, start by thoroughly cleaning and preparing the surface. This step is crucial as it ensures proper adhesion and longevity of the epoxy coating. First, remove any existing coatings or sealers by using a floor grinder or chemical stripper. Next, sweep away any loose debris and thoroughly scrub the floor with a degreaser to remove any oil or grease stains. Rinse the floor with clean water and allow it to dry completely.
Once the surface is clean and dry, it’s time to choose the right epoxy for your garage floor. Consider factors such as the type of traffic your garage receives, the level of durability required, and any specific aesthetic preferences. There are various types of epoxy available, including solvent-based and water-based options, as well as different finishes like glossy or matte.
After selecting the epoxy, it’s important to mix it properly. Follow the manufacturer’s instructions carefully and use a mixing paddle or drill attachment to thoroughly blend the epoxy components together. Be sure to mix it for the recommended amount of time to ensure a homogenous mixture.
Now it’s time to apply the epoxy to the garage floor. Start by cutting in the edges with a brush or roller, then use a roller with a long handle to apply the epoxy to the rest of the floor. Work in small sections to ensure even coverage, and be careful not to over-roll, as this can cause unwanted texture.
Once the epoxy is applied, it needs to cure and harden. Follow the manufacturer’s instructions for the recommended curing time, which can vary depending on the temperature and humidity of your garage. After the epoxy has cured, it’s important to maintain it properly to ensure its longevity. Regularly sweep away any dirt or debris, and clean any stains or spills promptly.
Now that you know the step-by-step process of applying epoxy to your garage floor, let’s move on to the next section about preparation tips for epoxy application.
Preparation Tips for Epoxy Application
Before starting the epoxy application process, it’s essential to adequately prepare the surface to ensure optimal adhesion and a long-lasting finish.
The first step is surface cleaning. Thoroughly sweep and vacuum the garage floor to remove any dust, dirt, or debris. Next, use a degreaser to remove any oil or grease stains. Scrub the floor with a stiff brush and rinse it clean with water.
After cleaning the surface, it’s important to patch any cracks or imperfections. Use a concrete patching compound to fill in any cracks or holes. Smooth out the compound with a trowel and let it dry completely before proceeding.
Acid etching is another crucial step in preparing the surface for epoxy application. This process opens up the pores of the concrete, allowing the epoxy to penetrate and bond effectively. Mix a solution of water and muriatic acid, following the manufacturer’s instructions. Apply the solution to the floor using a sprayer or a scrub brush. Rinse the floor thoroughly with water to neutralize the acid and let it dry completely.
Moisture testing is also important before applying epoxy. Tape a plastic sheet to the floor and leave it for 24 hours. If there’s condensation or moisture under the plastic, it indicates that the floor has moisture issues and epoxy shouldn’t be applied until the problem is resolved.
Lastly, choosing the right epoxy color is a personal preference. Consider the overall aesthetic of your garage and choose a color that complements it. There are various color options available, from solid colors to metallic finishes.