Looking to breathe new life into your aging pool deck? Look no further! ‘Transforming Aging Pool Decks: A Guide to Successful Resurfacing’ is here to help you achieve the transformation you’ve been dreaming of.
This comprehensive guide will take you by the hand and show you how to bring your dull and worn-out pool deck back to life. With step-by-step instructions and valuable tips, you’ll learn everything from assessing the condition of your deck to choosing the right resurfacing material.
Imagine the satisfaction of turning your pool area into a beautiful oasis that you can be proud of. So, let’s dive in together and make your dream a reality.
Get ready to embark on this exciting journey of transformation and create a space where you truly belong.
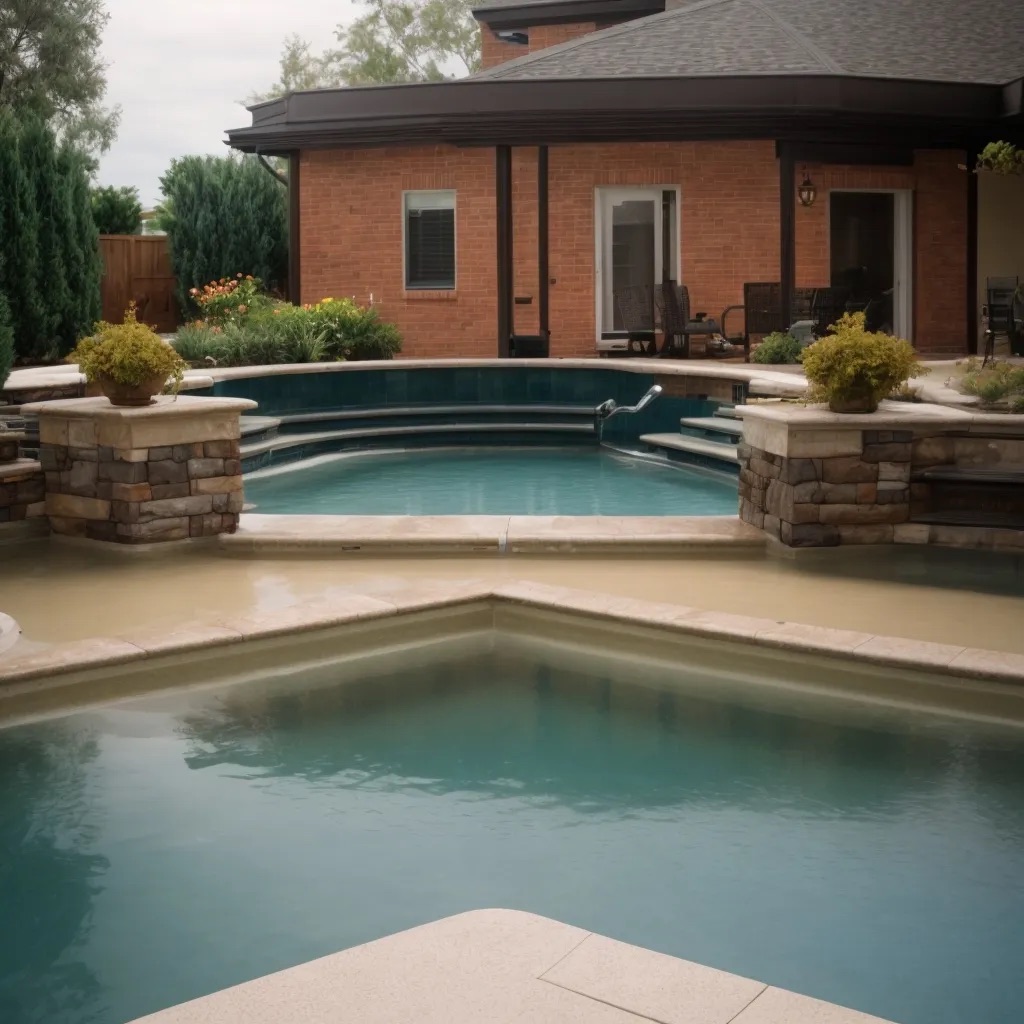
Assessing the Condition of the Pool Deck
Before you begin the process of resurfacing your aging pool deck, it’s crucial to thoroughly assess its current condition. This evaluation will help you identify any underlying issues that need to be addressed before proceeding with the resurfacing project.
Start by inspecting the overall structure of the deck, checking for any signs of cracking, sinking, or instability. Look out for areas where the concrete may have become worn or chipped, as well as any loose tiles or pavers. These common issues can significantly impact the durability and safety of your pool deck.
If you decide to tackle the resurfacing project on your own, there are several DIY options available. You can choose from a variety of resurfacing materials, such as concrete overlays, epoxy coatings, or rubberized coatings. Each option has its own set of pros and cons, so it’s important to consider factors like durability, slip resistance, and aesthetic appeal. Additionally, keep in mind that DIY resurfacing requires proper preparation and application techniques to ensure a successful outcome.
On the other hand, if you prefer to leave the job to the professionals, there are several professional services that specialize in pool deck resurfacing. Hiring experts in this field can save you time and effort, as they’ve the knowledge and experience to handle any challenges that may arise during the process. They can also provide valuable recommendations regarding material selection, cost considerations, and maintenance tips.
Once you have assessed the condition of your pool deck, you can move on to the next step: surface preparation and repair techniques. This will involve cleaning the deck thoroughly, repairing any cracks or damage, and preparing the surface for the new coating or overlay. By addressing these issues early on, you can ensure a smooth and successful resurfacing project that will transform your aging pool deck into a stunning and functional space.
Surface Preparation and Repair Techniques
To properly prepare your pool deck for resurfacing, start by thoroughly cleaning and removing any debris or loose materials. This will ensure a smooth and durable surface for the new coating. Surface preparation techniques are crucial in achieving a long-lasting and visually appealing result.
Repairing cracks is an essential step in the surface preparation process. Use a concrete repair compound to fill in any cracks or damaged areas. Make sure to follow the manufacturer’s instructions for proper application and drying time. This will prevent further deterioration and create a seamless surface.
Filling in uneven areas is another important aspect of surface preparation. Use a self-leveling concrete overlay to smooth out any uneven spots or indentations. This will create a level surface and improve the overall appearance of the pool deck.
Removing old paint is necessary if your pool deck has been previously painted. Use a paint stripper or pressure washer to remove the old paint. This will allow the new coating to adhere properly and prevent peeling or flaking.
Cleaning and priming the surface is the final step in surface preparation. Use a high-pressure washer to remove any dirt, oil, or stains. Once the surface is clean and dry, apply a concrete primer to promote adhesion of the new coating. Make sure to follow the manufacturer’s instructions for proper drying time before applying the new surface.
Choosing the Right Resurfacing Material
When choosing the right resurfacing material for your pool deck, consider factors such as durability, aesthetics, and ease of installation.
Comparing durability, both concrete and pavers are popular choices. Concrete is known for its strength and longevity, making it suitable for heavy foot traffic and harsh weather conditions. Pavers, on the other hand, offer a unique and stylish look while also being durable and easy to replace if damaged.
Cost considerations play a crucial role in selecting the resurfacing material. Epoxy coatings are generally more expensive upfront but offer excellent durability and resistance to chemicals. Acrylic coatings, on the other hand, are more affordable but may require more frequent reapplication to maintain their appearance.
Exploring design options is another important aspect. Stamped concrete allows you to mimic the look of natural materials such as stone or wood, giving your pool deck a high-end and luxurious appearance. With a wide variety of patterns and colors available, you can customize the design to suit your preferences.
Considering the environmental impact, natural stone options like travertine or limestone are eco-friendly choices. They’re sourced from natural quarries and offer a timeless and elegant look. Synthetic materials, such as composite decking or rubberized coatings, are also available and can be more environmentally friendly in terms of production and maintenance.
Lastly, safety features shouldn’t be overlooked. Slip-resistant coatings can be applied to the pool deck surface to reduce the risk of accidents, especially when the deck is wet. These coatings provide added traction and ensure a safer environment for your family and guests.
Choosing the right resurfacing material is a crucial step in transforming your aging pool deck. Now that you have considered durability, cost, design options, environmental impact, and safety features, let’s delve into the step-by-step process of pool deck resurfacing.
Step-by-Step Process of Pool Deck Resurfacing
Now that you have chosen the right resurfacing material for your aging pool deck, it’s time to dive into the step-by-step process of transforming its appearance and ensuring its longevity. Whether you decide to undertake the project yourself or hire professionals, following these guidelines will help you achieve a successful pool deck resurfacing.
First, assess the condition of your pool deck and make any necessary repairs. This may include fixing cracks, filling in holes, or addressing any structural issues. Proper surface preparation is key to a long-lasting resurfacing job.
Next, thoroughly clean the pool deck surface to remove dirt, debris, and any previous coatings. This can be done using a pressure washer or a deck cleaner. Make sure the surface is completely dry before moving on to the next step.
Once the pool deck is clean and dry, apply a bonding agent to ensure proper adhesion of the resurfacing material. This will help create a strong bond between the existing surface and the new overlay.
Now it’s time to apply the resurfacing material. There are various options available, such as concrete overlays, epoxy coatings, or rubberized coatings. Choose a material that suits your budget, style preferences, and desired level of durability.
Follow the manufacturer’s instructions for mixing and applying the resurfacing material. Use a trowel or a squeegee to spread the material evenly over the pool deck surface. Work in small sections to ensure proper coverage.
Allow the resurfacing material to dry completely before using the pool deck. This may take several days, depending on the type of material used and the weather conditions.
Remember to regularly clean and maintain your newly resurfaced pool deck to prolong its lifespan. Avoid using abrasive cleaners or sharp objects that could damage the surface.
Maintenance Tips for Long-lasting Results
To ensure the long-lasting results of your newly resurfaced pool deck, it’s important that you regularly follow proper maintenance tips. By implementing the right practices, you can protect your investment and enjoy a beautiful pool deck for years to come.
Here are some maintenance tips to consider:
- Sealing Techniques: Apply a high-quality sealer to your resurfaced pool deck. This will help protect the surface from water damage, UV rays, and chemicals. Choose a sealer that’s specifically designed for pool decks and follow the manufacturer’s instructions for application.
- Cleaning Methods: Regularly clean your pool deck to remove dirt, debris, and stains. Use a mild detergent and a soft-bristle brush to scrub the surface. Avoid using harsh chemicals or abrasive cleaners, as they can damage the resurfaced coating.
- Color Options: Consider choosing a color for your pool deck that’s resistant to fading. UV-resistant coatings are available in a wide range of colors, allowing you to customize the look of your pool deck while ensuring long-lasting vibrancy.
- Weather Protection: Protect your pool deck from extreme weather conditions. Use furniture covers or move outdoor furniture indoors during harsh weather to prevent scratching or staining the surface. Additionally, consider using a cover over your pool during the off-season to minimize exposure to the elements.
- Preventing Cracks: Take steps to prevent cracks from forming on your resurfaced pool deck. Avoid dragging heavy objects across the surface and use caution when moving furniture or equipment. Regularly inspect your pool deck for any signs of cracking and address them promptly to prevent further damage.